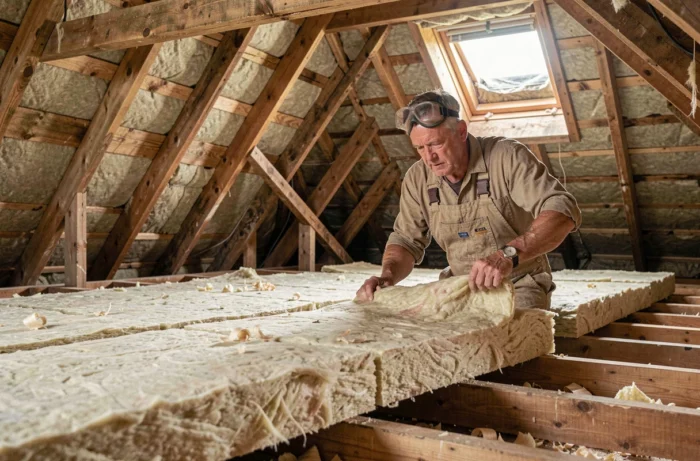
On a a renovation site, we regularly encounter attics where the old insulation has settled, become damp, or simply been installed without continuity. Even before discussing materials or thickness, it is often the state of the roof and the management of humidity that determine whether the attic insulation will hold its promises over time.
Pre-work diagnosis: what the roof reveals about your insulation
Installing high-performance insulation on a degraded framework is akin to masking a problem. The most recent guides emphasize a preliminary step that many homeowners overlook: inspect every square meter of the roof before insulating.
We look for cracked tiles, blackened wood, signs of mold, or stains on the joists. These clues indicate active infiltrations. As long as they are not corrected, any insulation will lose thermal resistance and promote the proliferation of fungi.
The ventilation under the roof deserves the same attention. A continuous air gap between the covering and the insulation, with entries at the bottom of the slope and an exit at the ridge, prevents condensation from stagnating. In converted attics, this air circulation is the factor that separates durable insulation from insulation that degrades within a few winters.
To achieve optimal insulation with Maisons Euro France, this diagnostic phase forms the foundation upon which the rest of the project rests.
Hygrovariable membrane and vapor barrier: a choice that changes the durability of insulation
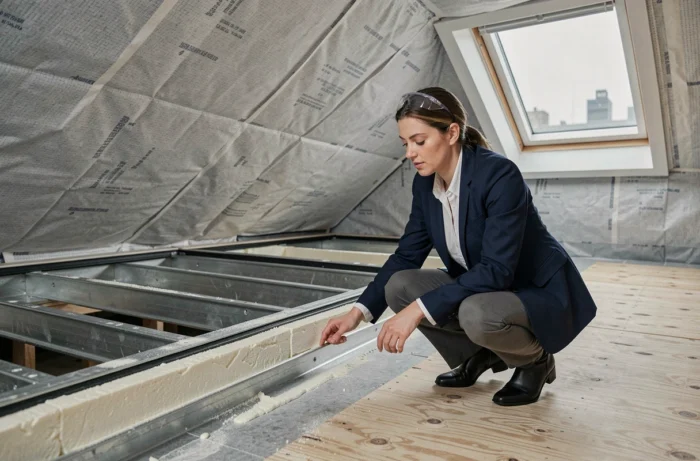
The classic vapor barrier blocks the migration of water vapor in all seasons. In winter, it protects the insulation. In summer, it can conversely trap moisture on the interior side and cause condensation within the thickness of the insulation.
Hygrovariable membranes adjust their permeability according to the ambient humidity level. In cold periods, they tighten to block vapor. When the air warms and dries, they open up and allow the insulation to expel residual moisture inward, where the mechanical ventilation takes over.
In converted attics, this type of membrane significantly reduces the risk of insulation degradation in the medium term. Feedback on this point varies depending on regional climate and heating type, but the trend in professional recommendations clearly leans towards this solution for roof slopes.
Cross-laying: eliminating thermal bridges between joists
A consistent implementation detail appears in project feedback: cross two layers of insulation to cover the joints between joists. The first layer slides between the joists, while the second is laid perpendicularly on top.
This technique eliminates linear thermal bridges at the wood/insulation contact points. In lost attics, the same principle is applied with two passes of blowing or spreading at a crossed thickness.
Attic insulation and summer comfort: thermal lag as a selection criterion
Most insulation comparisons focus on thermal resistance R, which measures the ability to slow heat loss in winter. For attics, summer comfort is equally important, if not more so in certain regions.
Thermal lag measures the time it takes for external heat to penetrate the insulation. A long thermal lag delays the entry of solar heat by several hours, allowing attics to remain livable even during intense heat.
Here are the insulations that stand out on this criterion:
- Wood fiber offers one of the highest thermal lags due to its density, making it a relevant choice for south-facing converted attics
- Cellulose wadding, blown or injected, combines good winter thermal resistance with a decent thermal lag, usually at a lower cost than wood fiber
- Glass wool or rock wool, very common, insulate effectively in winter but have a shorter thermal lag, which can pose problems under roofs during heatwaves
If the attic serves as a bedroom or office, opting for dense insulation with good thermal lag radically changes summer comfort. Blocking roof windows and having a properly sized mechanical ventilation system complement this approach.
Insulation thickness for lost and converted attics: operational benchmarks
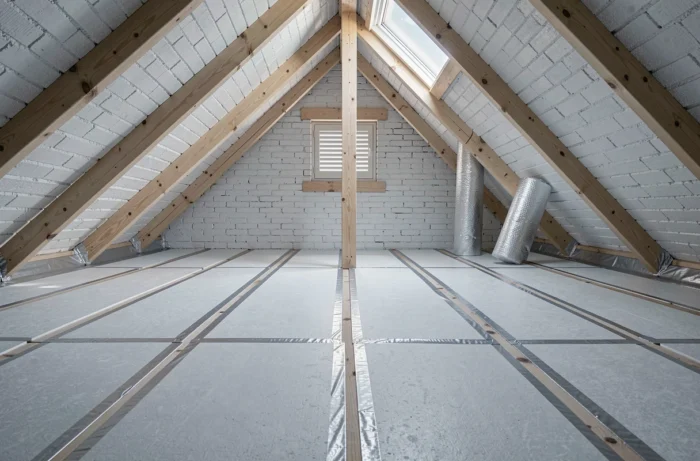
The thickness directly depends on the thermal conductivity (lambda) of the chosen insulation and the targeted thermal resistance R. To benefit from renovation aids, the required thermal resistance thresholds guide the minimum thicknesses.
- In lost attics, we aim for high thermal resistance, which translates into a generous layer of blown wool or cellulose wadding, often much thicker than what is installed in slopes
- In converted attics, the thickness is constrained by the available space under the slope, which pushes for choosing insulation with a lower lambda (dense wood fiber, polyurethane) to achieve the desired performance without compromising ceiling height
- Crossing two layers remains the most reliable method to ensure thermal continuity, regardless of the type of attic
Lost attics: mechanical blowing or manual spreading
For inaccessible lost attics, mechanical blowing (cellulose wadding, flake glass wool) ensures an even distribution across the entire surface, including in corners that are inaccessible by hand. Blowing covers floor irregularities better than a roll installation.
Manual spreading remains feasible on small areas with bulk insulations like hemp shives or cork granules. The regularity of the thickness then requires more rigor.
Ventilation and mechanical ventilation: the complement without which insulation loses effectiveness
We cannot talk about attic insulation without addressing ventilation. An effective insulation in a poorly ventilated home creates humidity problems that degrade the insulation and indoor air quality.
In converted attics, the mechanical ventilation must be sized for the added volume. Extraction vents are placed in humid rooms (bathroom in the attic, laundry room), while air intakes are located in dry rooms.
The insulation-ventilation pair functions as a system. Strengthening one without adapting the other shifts the problem instead of solving it. Before starting insulation work, checking the condition and flow of the existing mechanical ventilation avoids costly inconveniences a few months after the project is completed.